Pages

Monday, April 9, 2012

Kitchen Make-Over: Part 5

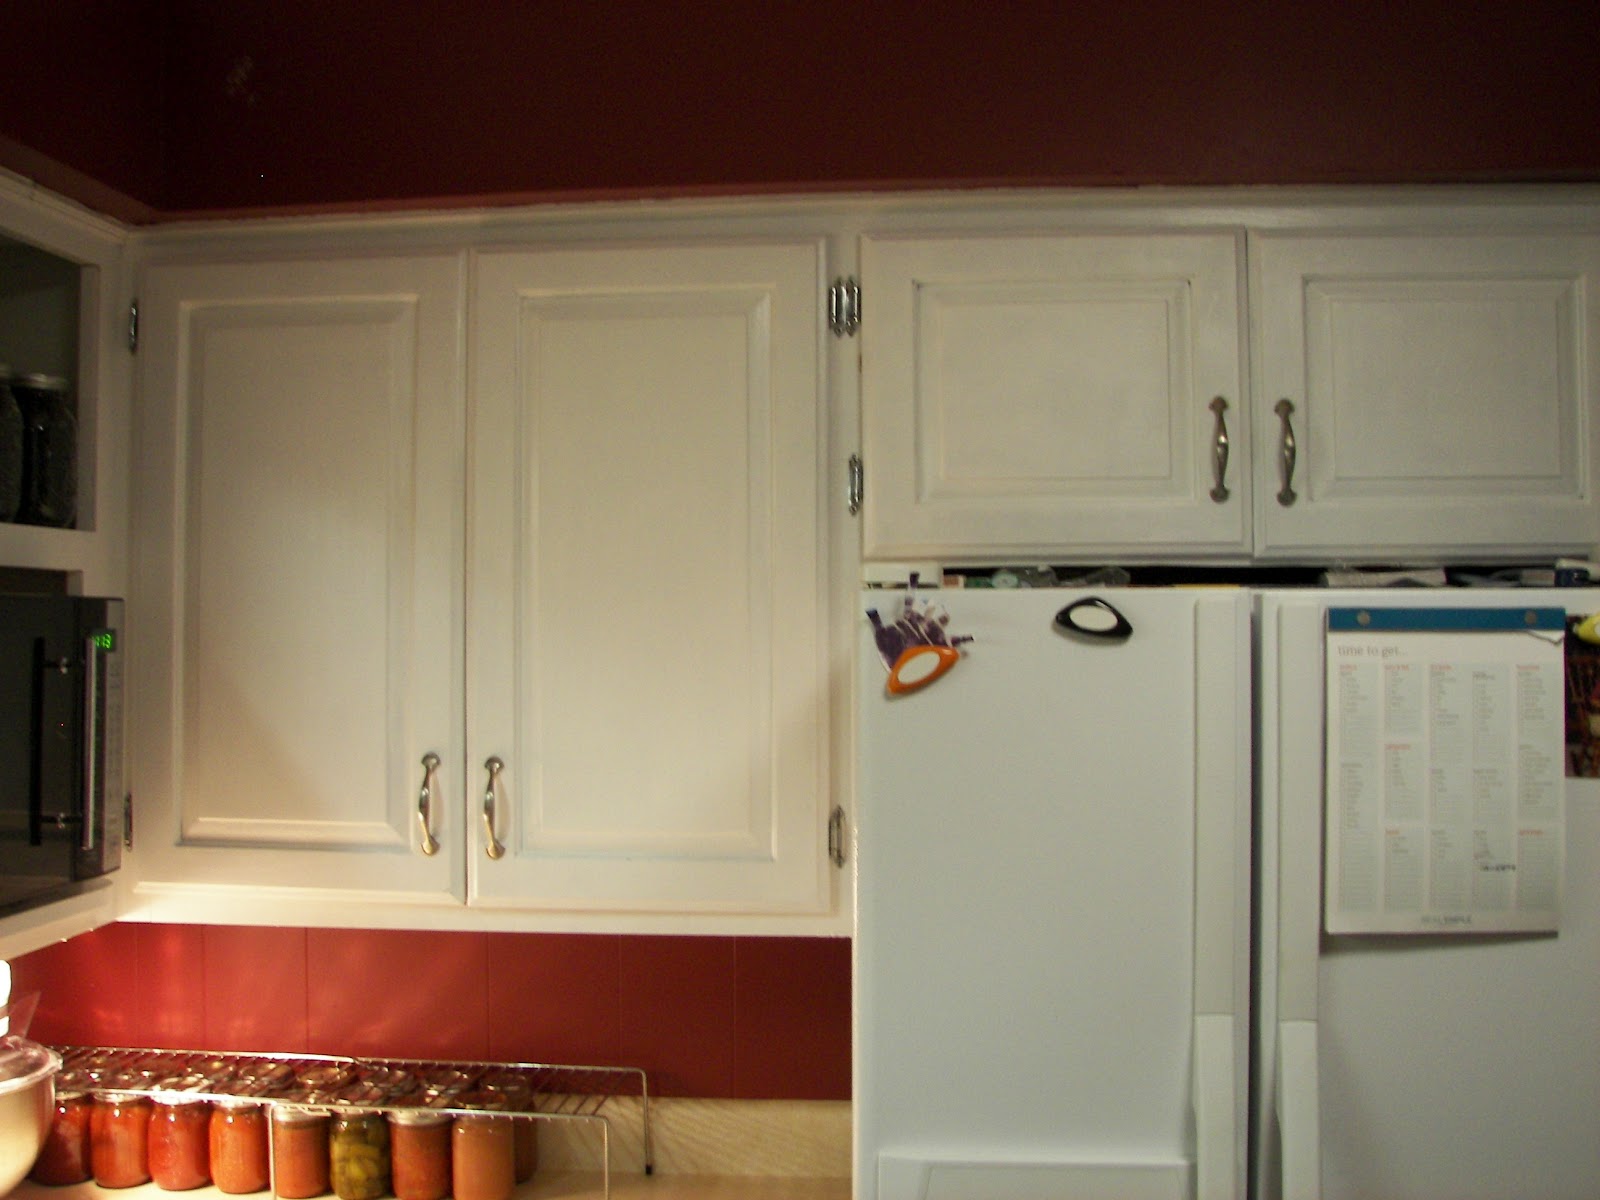
*Today, I'm excited to to tell you that Phase 1 of our kitchen remodel is complete!  I'm letting Mr. Chadwick tell his side of the story today, so I hope you welcome my first "guest blogger."  Don't hesitate to leave him comments at the end of the post.  I'll make sure he gets to read them.*

Chop block countertop...say THAT 4 times fast. Fun, eh? I built my sweet wife a walnut chop block to sit atop the replaced cabinet that you might have read about in previous posts on our kitchen adventures... Well, the woodworking bug has hit me. Hard. I enjoy it a lot, and my favorite part is when I get to use the router!! Here's my story:

One day in a land far away...wait. Sorry. Not a bedtime story for my 2 year old.

The short of it is that we were experiencing some trouble with the drop-in range that came with the house we bought, and a wonderful couple graciously GAVE us a free standing range. Cool beans! After many thanks to them and some help from some friends, we discovered that the new range was a bit too wide...so, out with an end cabinet, which didn't survive, and in with a pre-built, no-top-attached cabinet from Lowes. At this point, the only power tools I had handy for a countertop project were a circular saw and a jig saw. Not bad, but not great either. Earlier I mentioned, "my sweet wife," and here's just how sweet she is: She told me to "have at it" with this countertop.  ...  excuse me? did I hear you correctly?? Should someone pinch me? Maybe Shakespeare had it correct after all: "All that we see or seem is but a dream within a dream," because I just might be dreaming here. Well, I thought back to my days in shop class in 9th grade, and I remembered that Walnut is absolutely gorgeous wood, along with Oak and Poplar, so I took to the drawing board and designed a striped, mixed wood chop block. The image in my head was stunning... my wallet reality was not so stunning. So I scaled back my design to only one species of wood - Walnut - and it was probably for the wiser, as this was my first detailed home improvement project. The hardest part was finding the Walnut. I called 3 places before I was given the name of a local, small-scale sawmill, Butler Adams Lumber, who told me he had what I was diligently seeking. I loaded up Little Man, and headed out of town. It was a gorgeous 25 minute drive to the most agrarian part of the county, and the store room of lumber was just as nice. I picked up 11 board feet of a well-sawn piece of Walnut, had him chop it in half so it would fit in my Durango, and left the sawmill awestruck that trees I see everyday could look and smell THAT wonderfully... I remembered that it had been quite some time since I had experienced lumber that made me happy. A Porter Cable palm sander, Porter Cable orbital sander, a Porter Cable router, and some chop block oil later we had ourselves a nice countertop. (I'm fast approaching poster child status for Porter Cable) Here's what I learned:

1. Plan everything. On-hand materials, needed materials, budget, and look for ways to cut cost and keep quality.
2. Enjoy what you're building. It's going to be an arduous chore if you do not.
3. Practice your cuts. Our chop block has a nice characteristic gash in the back because I decided it wasn't hard to make a bevel cut with a jigsaw on a piece of hardwood...hence the reason I now have a router, which corrected most of my mistake. (Upon purchasing my new favorite tool, my ever-wonderful wife looked at me and said, "Happy Father's Day, Birthday, and Merry Christmas!") It actually wasn't too expensive, AND I got it on sale! :)

That's basically it. Enjoy the pictures!


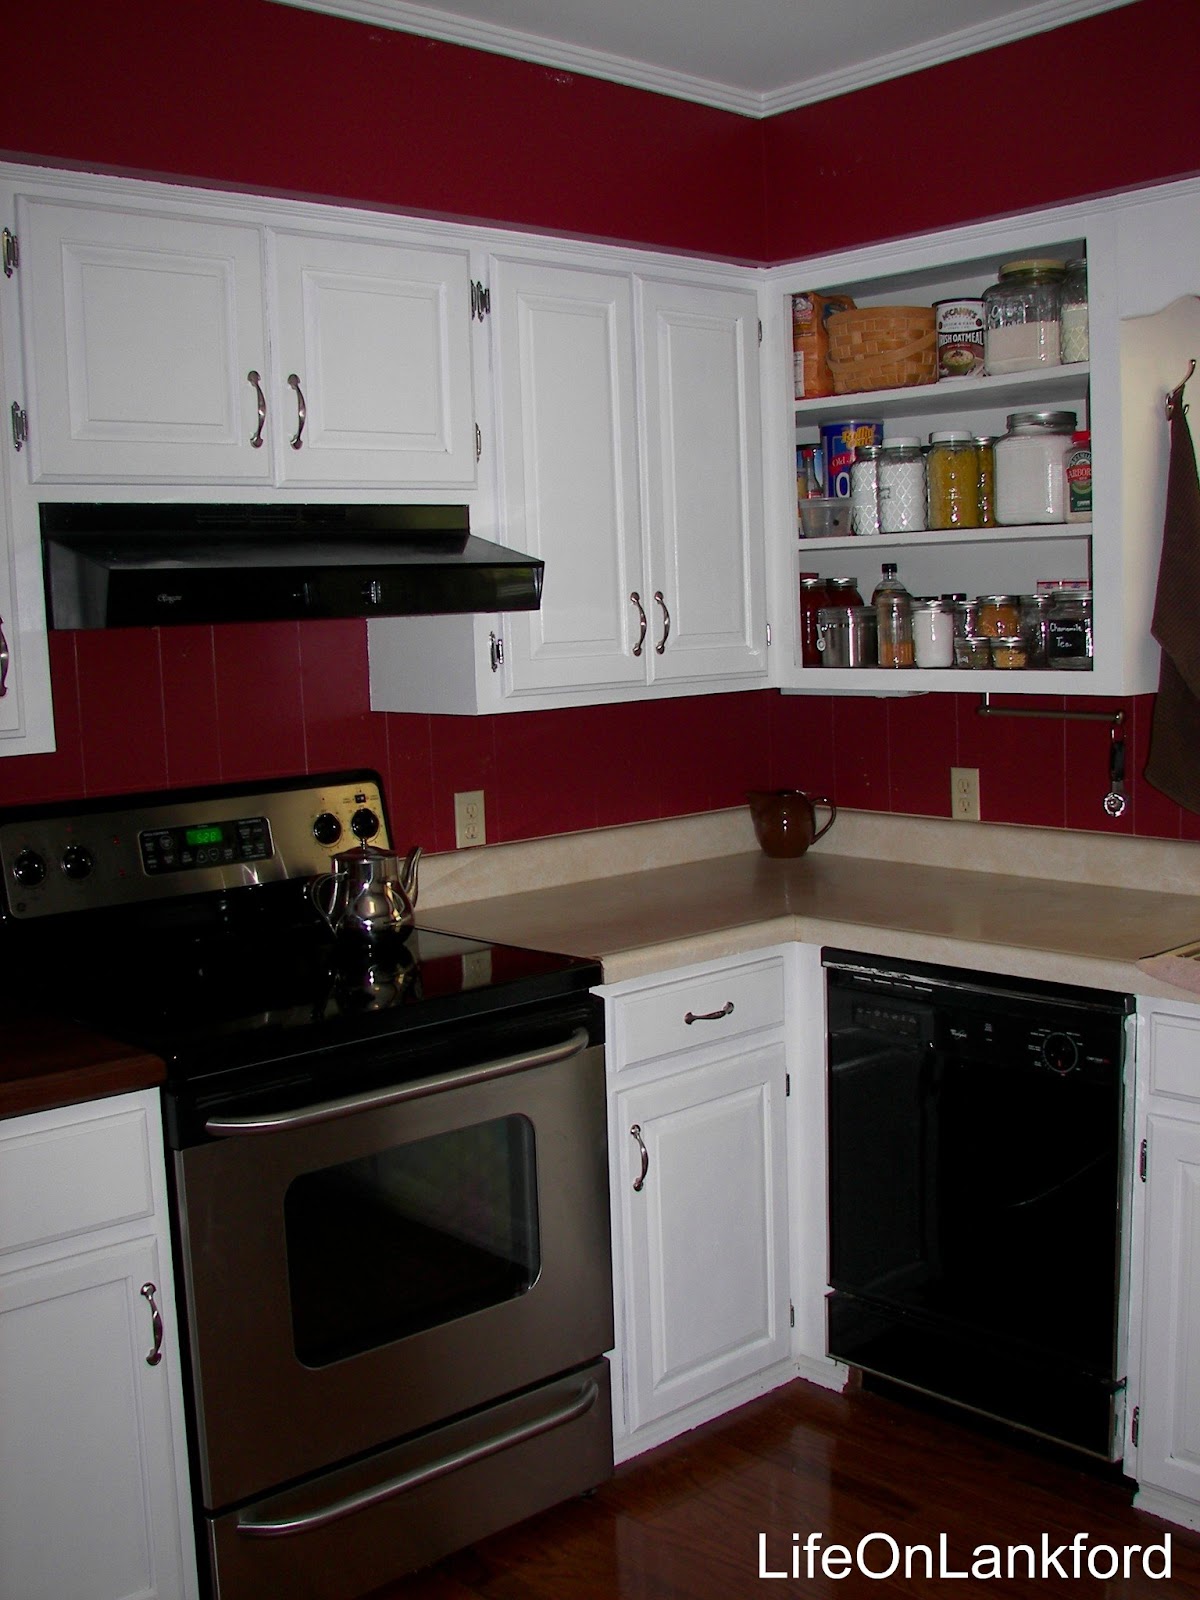
*Again, a big thanks to my sweet darlin' for all of his hard work on this gorgeous counter top and for taking the time to share his story here with all seven of you.  Phase 2 of our kitchen remodel will start with painting the walls (whenever I can bring myself to do more painting...*

Thursday, April 5, 2012

Kitchen Make-Over: Part 4


(new Contact Paper coming soon!)


 Please forgive the slightly blurry photos.  Even with the white cabinets, it's still rather dark in the kitchen at night.  All that's left to do in Kitchen Remodel:: Phase 1 is finish the end cabinet.  Eventually, I'll paint the walls, but I'm still a little burned out on taping, cutting in, and so forth.  Kitchen Remodel:: Phase 2 will include a new dishwasher, vent hood, new countertops, tile backsplash, and white farmhouse sink.  We plan on getting to that next year because there are a few other things in the house we'd rather get to first.  Once the countertop is on the end cabinet, I'll give you the run down on what I used and what the cost totaled (here's a hint:  it's less than what we would have spent on the stove).

Wednesday, April 4, 2012

Kitchen Make-Over: Part 3

After taking a day off for Sunday, Monday morning I hit the ground running.  (Click here and here if you missed the first two days.)  All the priming was done (contrary to the picture you see below), and I was ready to paint.  I chose Valspar's Ultra Premium kitchen and bath paint in off-the-shelf white.  This stuff is amazing!  It's thick, goes on smoothly, and covers a good bit of the wood grain.  I painted the doors outside to be nice and tidy, but unfortunately, although I taped, I got more white paint on the walls than I intended.  I may have even said Crud Head Baloney Face a few times.  In our house, this is considered major potty language, so I'll give you a few minutes to recover from my shocking use "foul vocabulary."  

Meanwhile, this was still in the middle of the floor.


We (and by we I mean me with Mr. Chadwick's approval) decided to leave the cabinets on the  "sink" wall open.  This required filling the holes left by the hardware, sanding smooth, and painting.


First coat of paint is up, end cabinet is no longer the the middle of the kitchen, and now 25 people know why cabinet doors are needed in the Chadwick household.


Mr. Tall and Handsome is making the butcher block top for this cabinet out of this gorgeous piece of walnut we got locally at a small mill nearby.


I really can't wait to show you what comes next!

Tuesday, April 3, 2012

Kitchen Make-Over: Part 2

In yesterday's post, I filled you in on the comings and goings of our new stove and the sad fate of our end cabinet.  That 21" cabinet and counter space was very important to the operating of our kitchen.  It was right next to the stove and directly underneath Little Man's snack cabinet.  Clearly, we had to replace it.  We spent nearly an hour at our local "big box" hardware store looking at our options.  We knew we weren't going to find a top for a cabinet that matched our current countertops, and I had the idea early on to put butcher block on as the top.  We thought through several different options before finally settling on the butcher block with a pre-made, unfinished 24" cabinet.  Three whole extra inches of storage and counter space!!  We kept part of the cabinet facing from the original piece so we could match the stain to the rest of our cabinets.  After getting the piece home with the custom mixed stain in hand, we ran through this list in our heads:  Floor finish, original cabinet finish, new cabinet finish, new cabinet top finish...None of them would be the same, and it's just too much wood stain!  We decided on the spot to paint the cabinets (which, as you may remember, is on my list of things to do this year).  A trip to Lowe's and $40 later, I was ready to get started.  

Saturday morning saw this action:


Oh, my!  It was a lot of taking down doors, taping, painting, moving things around, and airing out a house that smelled like oil based primer.  And yet, at this point I still wasn't done...

Monday, April 2, 2012

Kitchen Make-Over: Part 1

The Kitchen Bunch (set to the theme song tune of The Brady Bunch):

This is the story
Of a house on Lankford
With one really ugly 90's drop-in stove...

Well, ok, that's actually as far as I got in my Brady Bunch remix, but the kitchen is coming along nicely, especially since I hadn't set out to remodel it until two days ago.  Over the summer last year, three of the four burners on my 1990's drop-in-directly-wired-into-the-wall stove died.  I've been winging it with one burner and the microwave ever since.  That is, until a couple of weeks ago.  A very kind couple at church GAVE us their stove!  They are adding on to their kitchen, which includes a new stove, and they wanted to give us their current one.  Yes, please and thank you!  That stove is such a blessing for us, since a new drop-in would have cost around $1200.  I can think of alot of things I'd rather drop that kind of cash on.  The only trouble with getting this new stove was the fact that it is a free-standing stove.  It was time to bring out the power tools, people.  However, before we could do anything, we had to begin our journey with adding an outlet box to the existing wiring so we could plug-in and actually use the stove.  Just so happens that we got the stove during Mr. Chadwick's busiest week of the year, and electrical work was a no-go for his schedule.  Thank goodness we're likable enough to have some friends here.  Enter Mr. Handy Man Supreme and his amazing wife, Mrs. Handy Man Supreme.  They came over to do a ten minute job of hooking up the outlet and wound up staying three hours to run new wiring into the wall, attic, and fuse box.  Hopefully they still find us likable....

Phase 2 of Operation Get the Stove into Place called for cutting out the platform the drop-in had been on and removing part of the countertop around it.  Unfortunately, my new stove had to sit in the middle of the kitchen floor for a week before this could be done.  (Thank goodness my dad loves me enough to spend his entire Saturday doing carpentry work for free.)  Turns out, the new stove was 1/4 of an inch too wide to slide into the existing space, so a cabinet needed to be moved.  Here's how that went:


Unfortunately, I don't have a really good before picture of our original stove.  Here's the best I can do:


Tune in again tomorrow to see how the rest of the story unfolds...