Pages

Showing posts with label sewing. Show all posts

Wednesday, April 17, 2013

Summer Dresses

 Purple pintucks and polka dots.  I made this one a size larger so she can wear it all summer.


To get the pintucks, I cut the bodice a size larger than the rest of the dress.  I then put in five lines of pintucks to even up the fabric.


This one makes me think of The Sound of Music.  With just a hint of sweet little girl eyelet lace.


 The lace was given to my mother from her mother when I was a little girl.  Mama sent it to me last week.  I know Katy Rynne is too little to know the sentimental touch that it adds, but I think it's just so sweet.

Monday, April 8, 2013

A Sweet Spring Dress

Last week, I took three flat, twin-sized sheets and made a quilt for the den.  Perfect size, perfect weight.  
(I used this method again.)


You know how sheets and pillow cases have that very distinct three-inch hem at the top (or side) edge?  Well, I cut those off when I made the quilt.  And I saved them.  Waste not, want not.  I had nothing in particular in mind for them at the time, but I just knew I could use them somewhere.


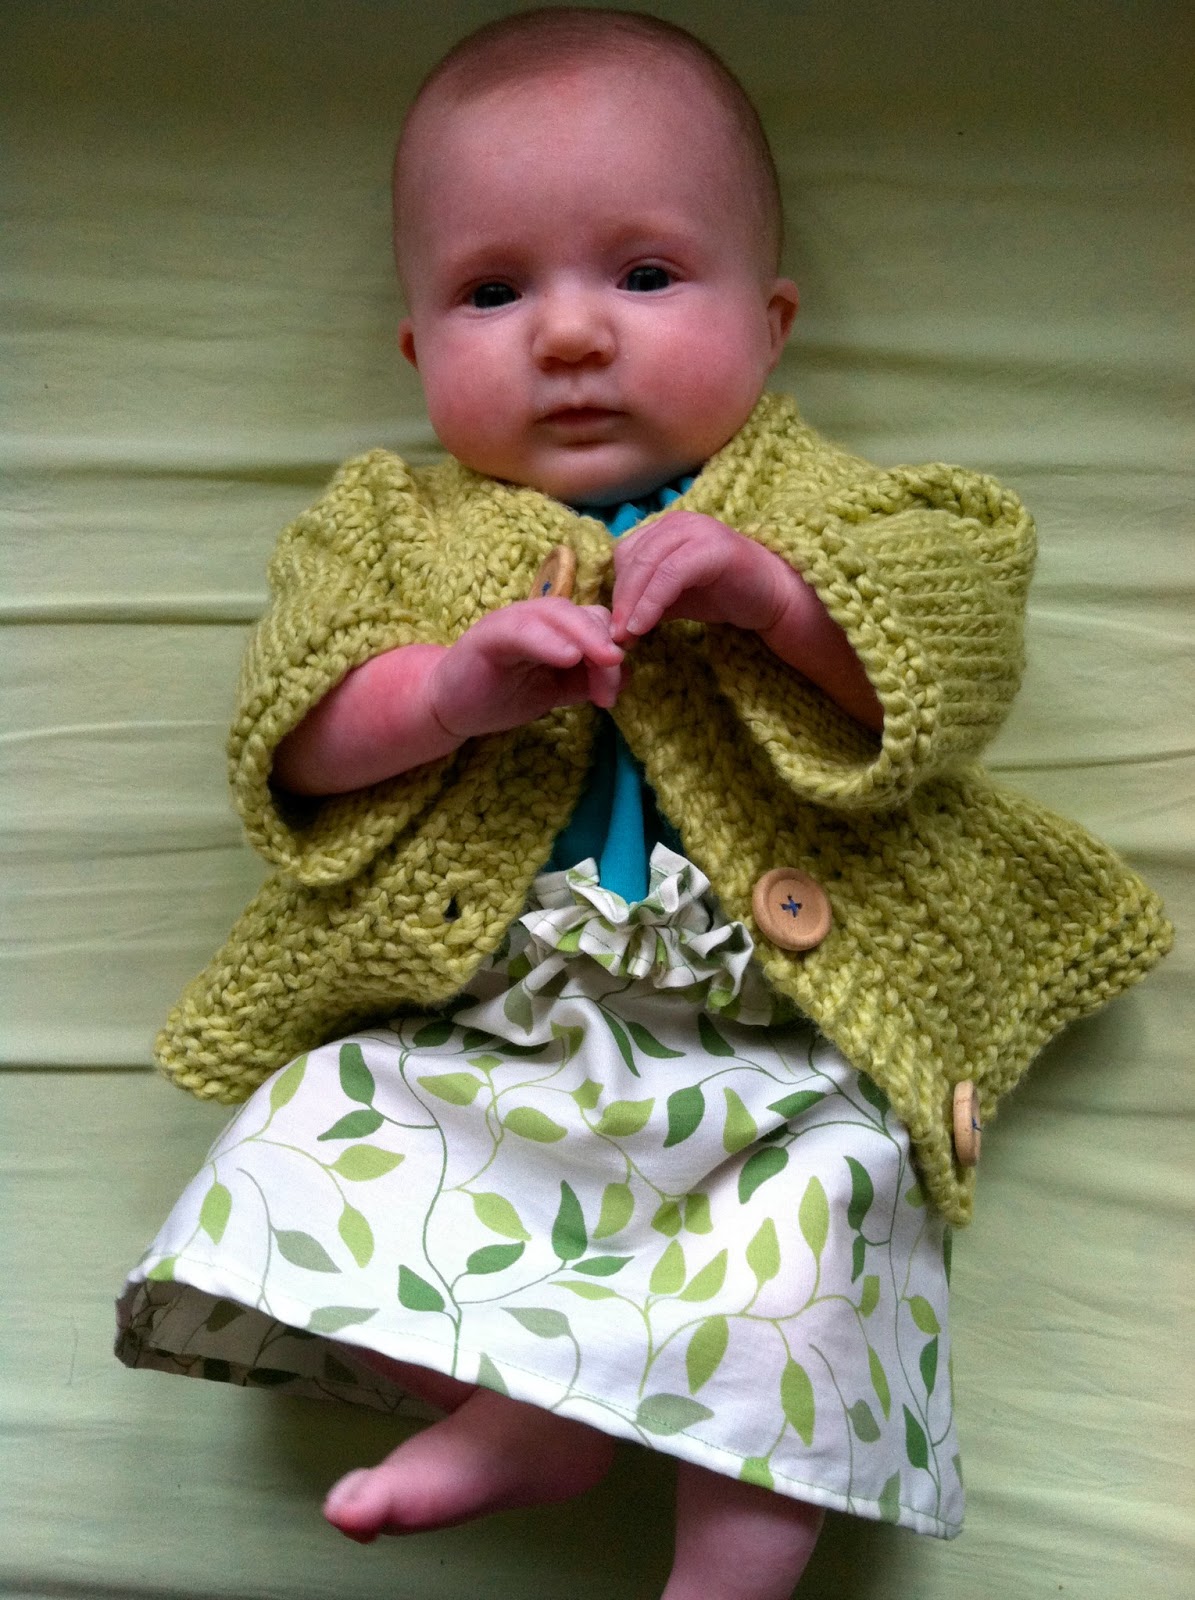
I have many good (and sometimes great) ideas when I'm up feeding Katy Rynne at two o'clock in the morning.  As it turns out, when you cut said hems, press them open, and stitch two of them together they are the perfect width for a sweet little dress (just perfect for a teeny tiny little girl).


Pair it with a sweater, and you wind up with a darling little Sunday morning outfit that's just right for this time of year. 


Thursday, March 7, 2013

Every Little Boy Needs a Tent


After seeing several of these on Pinterest, I decided that Blair and I could easily make one.  We whipped one up in about an hour for under $30.  I got a large dog bed and a new pillow for the inside.  He loves his special reading tent.

Tuesday, February 5, 2013

Just Like a Doll


Sewing for Lady Kathrynne really is like sewing for a doll right now.  She's just so tiny!

Thursday, January 24, 2013

Some Sewing for Baby

Every baby needs a diaper bag, but when it comes to "baby accessories" I prefer for them not to look like they belong to a baby.  I don't do pastel blues or frilly pinks.  Mr. Noah had two great diaper bags that he used, but unfortunately they both had his first name monogramed on them, making them solely his and his alone.  My solution?  Make my own.  That way it's my preferred style and customized to my needs.

I found this fabric on sale at a nearby Joann's and snatched up two yards of it and a contrasting fabric for lining.  It's the same fabric I used for the quilt in our den.


The pattern is my own design, and the entire bag is "padded" with cotton batting.  The strap is double padded and quilted for comfort and durability.


The strap is also long enough to be worn cross-body like a messenger bag.  That way I don't have to worry about it slipping off of my shoulder constantly while holding a baby and corralling a three-year-old.


I decided to do a squared-cornered base to give the bag overall shape and sturdiness.  


I put a simple loop and button closure on it so I could get in and out of it easily.  I didn't put any pockets on the inside because, frankly, I'm too lazy to take the time to locate the proper pocket.  I usually just toss things into a bag hit or miss.


I made this diaper strap based off of one I received as a gift when Noah was born from this sweet lady.  It has a layer of cotton batting in the middle and closes with sew-on Velcro.


I also firmly believe in leaving the house with as little stuff as possible, so I made myself this fold-over clutch to put my belongings in.  It also has a square bottom and lining.  With all of my stuff in here, I can grab it out and go when I leave the kids in the nursery at church or with a sitter.  It slips down into the bag and has plenty room in it for my keys and other essentials.  Speaking of keys...


I made myself this little ditty to put on my key chain.  Sometimes life is about the simple pleasures after all.

When all was said and done, I was pretty pleased with how everything turned out.  There's enough space down in the diaper bag for an extra change of clothes as well (and we Mama's all know how important that little detail is!) and anything else I might dream up on down the road for the remainder of the fabric.

Thursday, January 17, 2013

For Little Girls

As promised several times over the last few months, I have some pictures of finished sewing and knitting projects for you.  We'll start with some fabric.


When it comes to children's clothing, my philosophy is "If I wouldn't wear it, I won't make them."

You aren't going to find much pink or frill in Miss Kathrynne's closet (and certainly no hair bows), but there will be plenty of sweet little girl things for her to wear once she grows into them.

On a different note, IUGR babies have several milestones to reach in their first few weeks of life, and Miss Kathrynne met another yesterday.  She stayed awake for longer than an hour!  She made it an hour-and-a-half, actually, and it wore her out so much that she didn't open her eyes until way after 10:00 last night.  Here's to progress and little girls!

Thursday, January 10, 2013

Filling Out With Some Furniture

As promised a few days ago, I do have some finished projects to show you, and the first one's up today!  We finally had some sunshine here long enough for me to take some pictures, and this may be one of my favorite before and afters ever.  

Five years ago, Blair and I bought a bed from a friend, and it came with a homemade upholstered head board.  We used that up until this past Spring, when we switched over to an open and more light-friendly one from Blair's parents.  We tried to get rid of the original headboard to no avail, so Blair ripped off the fabric and batting to find some really great plywood underneath.  The cloth went in the trash and the plywood went to the shed.  

Over the summer, I decided I wanted a round table to help fill out our living room.  The space in there was just so empty and bare, but I couldn't find a table I really liked.  We finally had the idea to use that free piece of plywood.  So a couple of days before Christmas, Blair simply cut out a circle and attached it to the top of a side table we already owned.  A little batting, fabric, and a few boxes of upholstery nails later we had this:


It makes a huge difference in the room space-wise and function-wise.  Mr. Noah loves to work puzzles on it, and it gives the room a visual boost.  Best of all, it was free!  It's probably not a permanent fixture, but while we have young children in the house, it's soft, round edges are the perfect fit.  

So, here's the big before and after:

Before:


and 

After:


Monday, January 7, 2013

A project for a project

Redundant, right?  Not really.  Blair and I (well, Blair, mostly) are in the middle of a project that I can't WAIT to show you, but until then I thought I'd ease the wait by showing you something that I have  actually completed.  I made it to go with the larger project that Blair is constructing.


I doubt you were expecting a quilt.  All you fabulous quilters out there are probably unimpressed, but we love it!  It turned out really well.  I haven't made a quilt in 8 years, and the last one I did was a patchwork that I cut and pieced and stitched entirely by hand.  It was also a queen sized.  This is actually a crib-sized/lap throw size, and it's just perfect to sit on the couch right now until it's permanent home is ready (and, no, it won't be in the nursery).  I got the fabric at Joann's and loosely used the instructions from here to make it.  It took all of three hours, but then, I cheated and stitched the binding on with my machine.

Friday, December 23, 2011

Being Thrifty

Yesterday, I mentioned the sweaters from Goodwill that I bought for stocking making.  I'm sure you can tell quite easily from the pictures in that post that I didn't use every bit of both sweaters.  As a matter of fact, there was a good bit of "scrap" left over.  I'm pretty sure you know where this is going.  I saved all of the remaining fabric, and yesterday morning I took the cut off sleeves, stitched them into straight tubes (rather than tapered tubes) and wound up with these:


Boot socks!  The Tall Charming One got me these awesome boots for Christmas (and then couldn't wait that long to give them to me), and I have been wearing them nearly every day.  Over at Pinterest, I have a very large board dedicated to styles that I like, and I have a few outfits pinned with boots and boot socks.  I could have gone here or here and spent nearly $20 on a pair, but instead, I chose to be thrifty and use what I had.  Two sweaters+5 minutes = two (nearly free) pairs of what are essentially leg warmers.


I even left all of the junk in the background here so you can see exactly what our den looks like about  61% of the time.  Just trying to keep it real for ya.  

I had a great time this week trying to see how little I could spend and yet still produce quality work from online inspiration.  It's not difficult at all, and I encourage you to try it, too.  I even have some ideas in the works for what's left of the sweaters.

Thursday, December 22, 2011

It Only Took Six Years

Every year at Christmas, there's always one thing that's missing in the Chadwick household.  Stockings.  That are hung by the chimney with care.  And until this year, the chimney part was missing, too.  I have a slight aversion to buying anything that I can make for myself, and, honestly, there's not much out that that I can't make for myself.  That aversion even holds true for Christmas stockings.  I have always really liked the look of cable knit stockings.  They look like the socks that people would have used years ago.  However, the thought of knitting them kind of made me want to cut my nails too short so I couldn't.  So instead of torturing myself, I went to Goodwill, bought two sweaters for about $4, and did this instead:

 I took one large sheet of heavy paper from a very tall person's artist pad.

 Free-handed the stocking.

 Ummm, changed it up a bit.

 Cut it out.

 Changed it up a bit more.

 Pinned the stocking on the inside out sweater.

 Stitched around the pattern using a zigzag stitch and the edge of the paper as a stitching guide.  
To be perfectly honest, I just couldn't quite wrap my head around how the pattern should look including the seam allowance, and I figured it would be easier to stitch the stockings first without cutting the pieces out anyway.

 Cut out the stocking.

 Turned right-side out.

 Did this three more times.


 Cut red ribbon to appropriate length. 

 Took a really bad picture of a small cup hook that I put in the wall above the mantle.  

 Hung stockings with care.


I went ahead and did four stockings so there would be one for any future little Chadwick child.  Right now, it's the dog's.  For this project, I think a sweater that is either 100% cotton or wool works best.  The fabric isn't as stretchy, and that will give you a nicer looking end result.  The cup-hook-in-the-wall is a trick I picked up from my dad.  They will just stay put year round, waiting patiently for each Christmas to roll around so they can bear the weight of stockings stuffed with sweet little presents.   Some future Christmas may find me decorating them and embroidering our names on them, but for this year, I like them just the way they are - plain and simple.