After seeing several of these on Pinterest, I decided that Blair and I could easily make one. We whipped one up in about an hour for under $30. I got a large dog bed and a new pillow for the inside. He loves his special reading tent.
Showing posts with label pinterest. Show all posts
Thursday, March 7, 2013
Monday, July 30, 2012
More Gardening
It's time to start thinking about what we want to put in our autumn garden this year. Last year we let it slip by us completely, and I set my mind that I would not do that again. We want to set out broccoli, cauliflower, kale, butternut squash, and acorn squash. It's still about four weeks too early for most of it, but I did need to get my broccoli seeds started in the house now. Last year, I marked this on Pinterest as an idea for starting plants inside. It's an experiment, and if it fails, I guess I'll be buying broccoli plants in a few weeks. Here's to optimism!
Wednesday, May 16, 2012
A Simple Project
We're in the middle of a small master bedroom rearrange/fix-up, and yesterday morning I wanted to add something to our gallery wall. The left side is pretty well filled out, but the right half has been rather anemic-looking for several weeks now. Rather than just have a large collection of photographs in black frames, I wanted to add some different elements in as well. Somewhere in the depths of Pinterest I found a really cute idea that I never bothered to pin. You simply take important dates from the history of your family, put them down on paper, and frame them. I decided to embroider mine on fabric. This is easily adaptable to multiple mediums (cross stitch, paint, print, marker, you get the idea), so it's the perfect customizable project.
I made my way to the Free Frame Box and pulled out a rectangular frame. After pulling the backing and glass out, I took it outside to spray paint.
Back inside, I used the frame glass as my guide and cut my white fabric to size. I actually doubled my fabric before cutting because I was using thin broad cloth, and I didn't want the thread on the back of the fabric to show through.
Using a pencil, I lightly traced our dates: Mr. Chadwick's birthday, my birthday, our anniversary, and Little Man's birthday.
If you'll notice, I left a space open at the bottom in case one day I might need to add another birthday. Better safe than sorry have to explain to a "youngest child" why their birthday didn't get included in our list of important dates.
And, actually, after I put it on the wall, I realized that I really didn't like the embroidery. I think I may try one of those "other mediums" I mentioned at the beginning of the post to make it look more modern. Which do you think I should use?
Also note, I did not show you a complete picture of the wall because we are indeed currently making some changes in here, and I want them to be complete before I reveal them to you. At some point there will be a hacksaw involved. That may take a while. Please don't hold your breath. Your doctor won't thank me.
I also scored a sweet deal on a piece of furniture Mr. Chadwick found on the side of the road. It needs a good bit of work, so if I'm absent here tomorrow it's because I'm busy refinishing this secret piece. I can't wait to share it with you all!!
Monday, April 16, 2012
One Thing Leads to Another
Remember three weeks ago when I posted about needing motivation to complete a project? Well, that was unsuccessful. I was tired of rolling and taping paper into tubes, but the side door really needed a little Spring lift. Sadly, my remedy didn't actually accomplish this.
Ahem.
This is the view my neighbor has had for three weeks now. That is indeed her house you see in the reflection of my before picture. Bad photographer.
Mr. Chadwick took a trip with some of his students last week, and although I was feeling miserable with ear infections, I wanted to get my craft on. After staring at my boards on Pinterest for two-and-a-half days I found myself strangely still unmotivated but wanting to be motivated. I think I probably just needed to get out of the house.
Friday evening, 5:30 rolled around, and the inspiration struck! I was going to make a square wreath taking ideas from this one by Paper Wings and this one by Blue Sky Confections. Obviously, I started by gathering my supplies. I grabbed some yarn I had, a photo frame I had, and a paper frame some professional photos came in last fall. So far, so free.
I measured two inches in from all four corners and marked this with a pencil. I simply started wrapping yarn at one mark and ended at the next.
I opted to use two different colors (and types) of yarn because that's what I had on hand. The wrapping took much more yarn than I had anticipated, so I had to go back to my yarn
One of these days I'll grow up and quit using my phone to take pictures for the blog. Until then, this is what ya get.
Originally, I was going to take this letter C that I cut from that paper frame and wrap in hemp. It didn't take too long for me to see that was clearly not going to work. Every now and then I'm a quick learner, so I decided right then and there to change my tactics. I pulled inspiration from here (another pin) thinking I could embroider a letter C onto some cork.
An hour later it looked so bad that I didn't even bother taking a photo. It would have been poorly lit anyway.
And then...and then. And then I remembered that chalkboards are really cool and I have this super awesome chalkboard contact paper and that might be exactly what I want. So I cut out a rectangle and stuck it on what was left of the paper frame I used for my letter C failure.
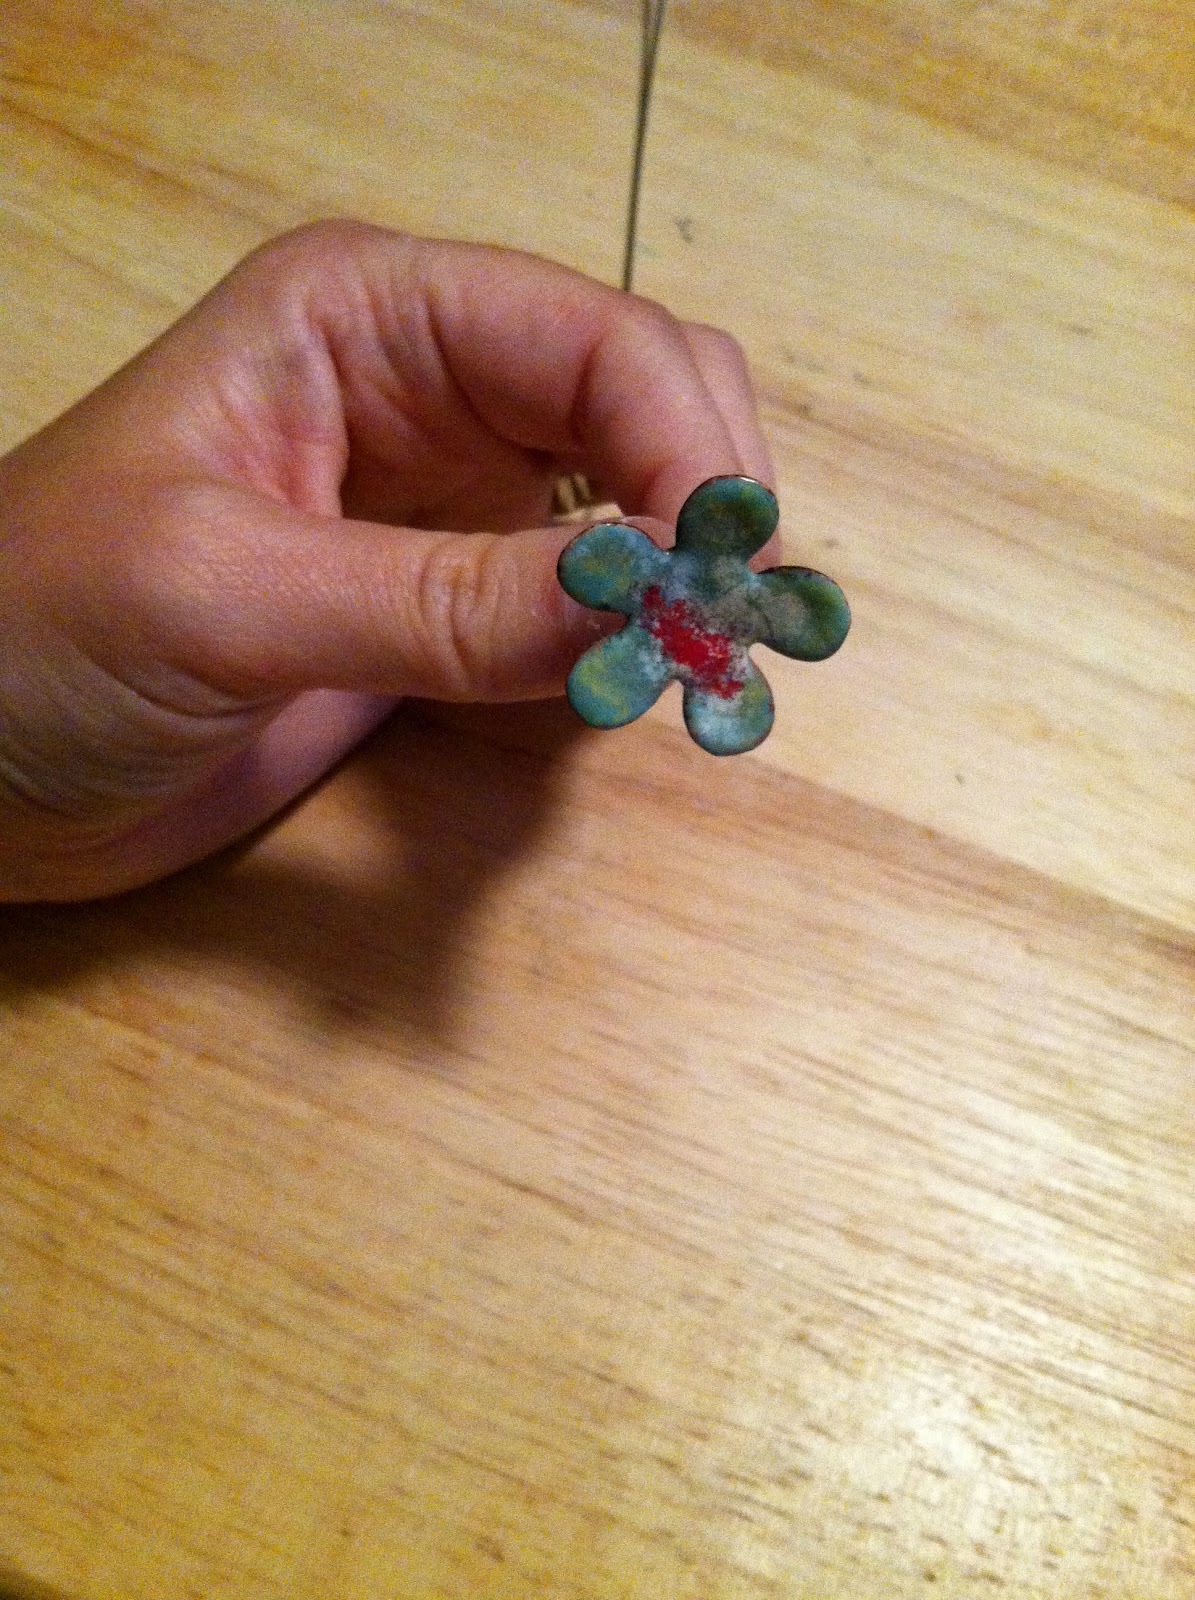
I also had five of these metal flowers that I bought in Berea, KY four years ago on vacation. They actually go down into planters as lawn ornaments, but I've never used them for that purpose.
I used some of the red thread left from my embroidery disaster to hang my sign in the middle of my wreath. I knew I wanted to hang the wreath on the door with ribbon, and since I didn't have any ribbon that matched this red thread, I took that out and used some of the leftover blue from the sides instead.
My apologies for yet another bad phone pic. However, I think I was well within my rights to not be thinking clearly, because somewhere during the process of the wreath making I realized that no matter what I placed on that door, it was still going to have that ugly, wood-stained finish. So I pulled out my oil-based primer and a can of paint and went to work. The primer pretty much negates all ability to think well, but at least now my front and side doors match.
I installed this hook on the inside of the door so I could hang my ribbon across the top, preventing it from being seen on the outside.
And then, it was done! Here's what it looks like to my neighbor and anyone else going down the street.
Using my chalk pen, I wrote our address on the "chalkboard." For reasons I think are pretty obvious, I blurred out the house number.
I'm pretty sure I LOVE IT! It's almost enough to make me want to set up camp in the driveway for the day just so I can keep admiring it. Over and over. After seeing my handwriting in so many pictures, however, I'm thinking I may need to get my calligraphy-writing mother-in-law to rewrite this for me.
I'm also thinking the next outside project might need to be this lamp next to the door...
Anyone else find it creepy?
And for one last before and after...
Wednesday, April 11, 2012
Peppermint Lip Balm
As some of you may know, Mr. Chadwick fancies himself an amateur apiarist, and the other day we found ourselves in possession of our first real wax harvest. I have been itching to get my hands on some to try making some lip balm and lotion recipes, and while waiting on paint to dry the opportunity presented itself.
I decided to go with some "Homemade Burt's Bees", and the original link with recipe can be found here. The only change I made was leaving out the Vitamin E.
I used my cheese grater to grate down three teaspoons of wax. What you see below is what I still have after removing enough for this project (the handle is for size reference).
I decided to melt my solid ingredients in the microwave rather than on the stove because I didn't have a pan I was willing to permanently donate to the bees wax cause. I have two glass, one cup measuring cups, and this one just found a steady job.
I use coconut oil in place of every kind of oil out there most of the time, so this ingredient is one I also "had on hand". Six teaspoons of this went in.
In with this goes 1 1/2 teaspoons of lanolin (which I also had already), and then I put it in the microwave stopping it to stir every 15 seconds. I did this for about two minutes. I used a wooden skewer to stir.
When the wax melts completely, add 2 teaspoons of hard honey. I didn't take a picture of the "hard honey" that is called for. This is simply whipped honey that you can buy in the honey section of your grocery store. I added about 10 drops of peppermint essential oil, stirred it all in the measuring cup until it started to solidify, then poured it into three of these containers that I bought three years ago at Michael's.
So easy (and cheap) to make, and you get a quality product out of it. It can be used on your lips, hands, feet, elbows, knees...
Thursday, March 15, 2012
Pin-Mania!::4
Today, I thought I'd dip into the realm of recycling by turning a milk carton into a lunchbox. The original website from the Pin is in Spanish, and there's not actually a tutorial there, so I did the best I could simply by following the pictures.
I started with a clean, empty gallon milk jug. I have been saving these for when I make laundry detergent.
I took a Sharpie and drew some lines on it in an attempt to mimic what I saw in the original picture.
I used an Xacto knife to make the cuts, thinking that scissors might be too difficult.
Then, all that was left to do was take some scissors to trim the edges to smoothness, attach a sticky-backed Velcro dot and fold in the sides. The original was held closed with a snap, but I didn't have any that were large enough to fit the task at hand.
I have absolutely no idea what I'm going to do with this, and I'm sure I won't be making another. However, it is a neat idea. I pinned it, made it, and now it awaits Little Man to decide what use it will have. I'm sure if someone were to really take their time in making this little box, it could be quite useful (like the lunchbox it's intended to be) and beautiful. On with the Pins!
Subscribe to:
Posts (Atom)