Pages

Showing posts with label kitchen. Show all posts

Wednesday, May 23, 2012

And He Does It Again!

After having such a great time (and doing such a great job) building the counter top for our new kitchen cabinet, Mr. Chadwick tackled another project for me (and at my request).  With a little scrap wood from the counter and some dried cedar branches from a tree that fell at church, he made this beauty.


It's a little hard to tell, but he even put a decorative edge on it.  It's all in the details.


I think it looks even more lovely with my grandmother's vintage aprons hanging upon it.


Well, done sir!  Well done!


*On a side note, I spent six hours yesterday in court.  Remember that guy who robbed me back in January?  He finally went in front of the judge.  However, in the six hours I was there, I only spent 5 minutes doing anything involved with the case.  Instead, I became disgusted with some of our country's procedures (not the judge at all - she is amazing!), disheartened at the state of humanity (not that it was really a surprise), and grew so tired I didn't get yesterday's blog post up to Facebook.  It's over here if you want to read it.*

Friday, May 4, 2012

Friday Photo

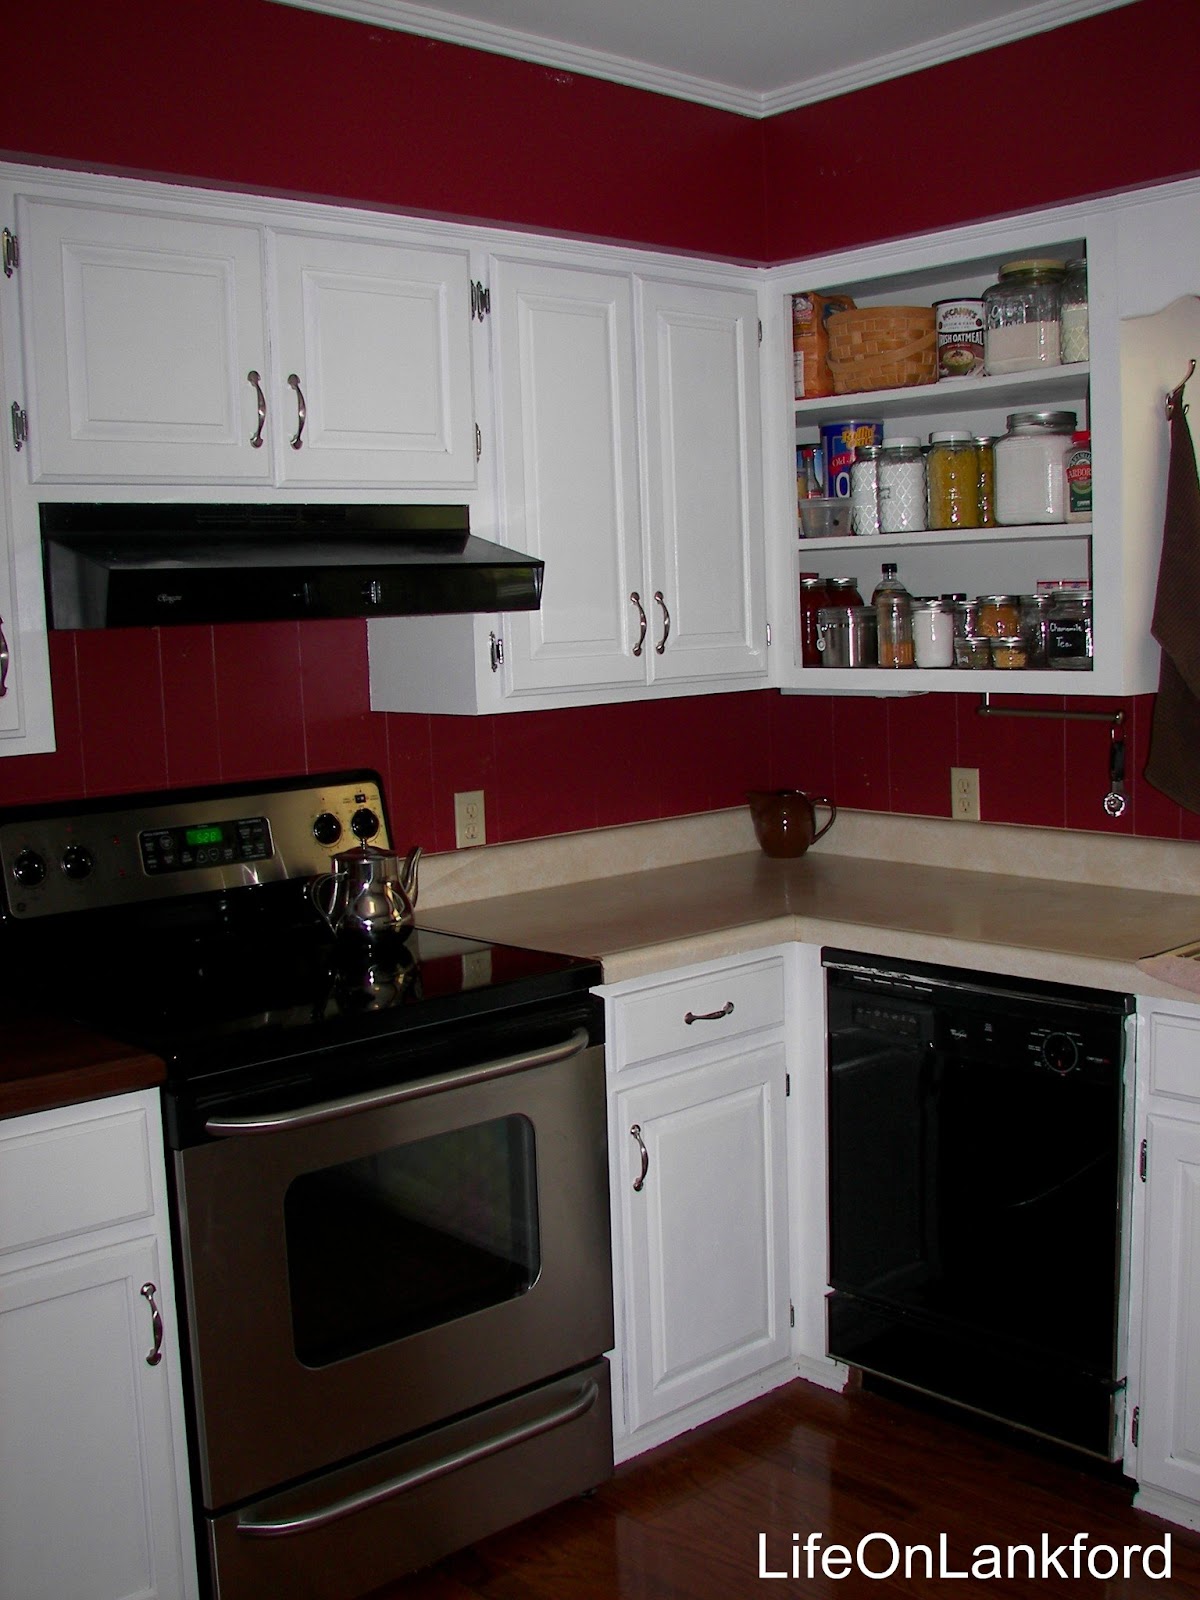
I know you are probably all tired of looking at my kitchen, but I finally found a good "before picture" of our old stove.  You know, that old drop-in, directly-wired-into-the-wall stove that only had one working burner?


And now...


Now, come on.  You all can't tell me you're tired of seeing before and after pictures of my kitchen now, can you?

Wednesday, May 2, 2012

And It Has Paint

It's been a long time coming.  We'll consider this Kitchen Remodel: Phase 1.5


Priming.  It's not pretty, but with paint this dark it's completely necessary.  With a good solid coat of primer (I used one quart of Kilz oil-based), I only needed one coat of paint to cover the walls.  One coat!


I started with the hall.  It was easier to do myself (Mr. Chadwick was in NYC) since there was no heavy furniture or appliances to move.


New switch plates.  Crossing that off the list.


After finishing the hall (at 12:30 a.m.), technically, I went to bed.  But after finishing the hall, the next step was the kitchen itself since my heavy-lifter was back home.  More priming.  I used a Shur Line edger which cut alot of time off of the painting process.  Less taping, quicker edging.  Next time you paint, use one.  They're only a couple of bucks and totally worth the money.


Oh, glorious finished product.  I have long awaited your arrival.


The frame on the dry erase board is an off-white which looks grungy now that everything is light and crisp.  I'm going to have to paint it.  All I have to do is decide on a color.


It's really amazing how much brighter and bigger this space seems now that it's a lighter color.  It feels more open and less cave-like.  Oh, and I had a little over a half gallon of paint leftover.  Feel free to leave me a comment telling me what you think I've done with the rest of it.  Hopefully there will be an update on that tomorrow.

Friday, April 27, 2012

Friday Photo: Paint Picked!

Over the course of the week, we went from all of these paint samples to just these six that were moved around the room three times a day.  I kid you not.  I wanted to see what each and every one looked like every where in the room at three different times a day.


And after observing that and spending all that time moving little rectangles of paper around, Mr. Chadwick and I landed on this one.


Valspar's Sterling.  Obviously, this photo is a poor representation of the actual shade of gray.  Here's hoping it will photograph better once it's applied to our walls Wednesday (hopefully...barring any complications).  Now I just have to spend the next few days getting myself into the mind set to start taping...

Thursday, April 19, 2012

Pickin' Paint

Now, while I'm still not quite ready to dig out the paint supplies for a big project just yet, I am ready to start deciding on a color for the kitchen.  I thought the best way to make sure we wind up with something we really love (at least for the next several years) would be to take several samples, tape them to the walls, and look at them in different lighting throughout the day over the next couple of weeks.  

After nearly half-an-hour at Lowe's this is a sampling of what I brought home:


Now, please don't think I've lost my mind when you see the color in the back.  I'm planning on using that as an accent color elsewhere in the house.  I'll get to that in a minute.  

Apparently, taping paint samples to the walls in contagious (perhaps dangerously so), because Little Man wanted in on the action. 


And I give you Gray


Gray


Gray, gray, gray, and gray


Grey and Grey (if I spell it with an E does it make it more exciting?)


Not very spell-binding, but, oh, think of the possibilites of gray!  I have always loved gray for walls because it gives a nice, clean backdrop allowing for exciting accents and trinkets (or Fire King dishes in the kitchen).  It will also look really spectacular when we have the walnut counter tops all the way around.

While I was at it, I went ahead and placed some in other rooms of the house.  I give you the den with a possible wall color


and hearth color (which is shockingly enough...gray).


 The guest bath is in need of some decorating only.  Not painting.  Which was a relief to Mr. Chadwick when he saw this paint chip taped upon the fuse box cabinet.  For some reason, it made him think a high school girl was going to be painting this space.  No idea why.  Everyone knows bright teal walls are super awesome.


I am vaguely aware of the fact that it is no longer winter.  However, I am also vaguely aware of the fact that I have nothing else to put here.


I present to you the Great Room in a deep shade of...wait for it...wait for it...GRAY!  We plan on putting white wainscoting on the lower half of the walls, also, which should take out some of that cave-likeness that might be an issue with such a large space of dark walls.


And Little Man's room in gray...

Most likely to match the kitchen.  Or at least compliment.


Over the next few days, focusing on the kitchen, we'll take down the paint chips we don't like and move around the ones we love to make sure they are equally appreciated in all the (few few few) light sources the kitchen has to offer.  Hopefully the first week in May will bring forth some taping, cutting in, and painting in gray.

Monday, April 9, 2012

Kitchen Make-Over: Part 5

*Today, I'm excited to to tell you that Phase 1 of our kitchen remodel is complete!  I'm letting Mr. Chadwick tell his side of the story today, so I hope you welcome my first "guest blogger."  Don't hesitate to leave him comments at the end of the post.  I'll make sure he gets to read them.*

Chop block countertop...say THAT 4 times fast. Fun, eh? I built my sweet wife a walnut chop block to sit atop the replaced cabinet that you might have read about in previous posts on our kitchen adventures... Well, the woodworking bug has hit me. Hard. I enjoy it a lot, and my favorite part is when I get to use the router!! Here's my story:

One day in a land far away...wait. Sorry. Not a bedtime story for my 2 year old.

The short of it is that we were experiencing some trouble with the drop-in range that came with the house we bought, and a wonderful couple graciously GAVE us a free standing range. Cool beans! After many thanks to them and some help from some friends, we discovered that the new range was a bit too wide...so, out with an end cabinet, which didn't survive, and in with a pre-built, no-top-attached cabinet from Lowes. At this point, the only power tools I had handy for a countertop project were a circular saw and a jig saw. Not bad, but not great either. Earlier I mentioned, "my sweet wife," and here's just how sweet she is: She told me to "have at it" with this countertop.  ...  excuse me? did I hear you correctly?? Should someone pinch me? Maybe Shakespeare had it correct after all: "All that we see or seem is but a dream within a dream," because I just might be dreaming here. Well, I thought back to my days in shop class in 9th grade, and I remembered that Walnut is absolutely gorgeous wood, along with Oak and Poplar, so I took to the drawing board and designed a striped, mixed wood chop block. The image in my head was stunning... my wallet reality was not so stunning. So I scaled back my design to only one species of wood - Walnut - and it was probably for the wiser, as this was my first detailed home improvement project. The hardest part was finding the Walnut. I called 3 places before I was given the name of a local, small-scale sawmill, Butler Adams Lumber, who told me he had what I was diligently seeking. I loaded up Little Man, and headed out of town. It was a gorgeous 25 minute drive to the most agrarian part of the county, and the store room of lumber was just as nice. I picked up 11 board feet of a well-sawn piece of Walnut, had him chop it in half so it would fit in my Durango, and left the sawmill awestruck that trees I see everyday could look and smell THAT wonderfully... I remembered that it had been quite some time since I had experienced lumber that made me happy. A Porter Cable palm sander, Porter Cable orbital sander, a Porter Cable router, and some chop block oil later we had ourselves a nice countertop. (I'm fast approaching poster child status for Porter Cable) Here's what I learned:

1. Plan everything. On-hand materials, needed materials, budget, and look for ways to cut cost and keep quality.
2. Enjoy what you're building. It's going to be an arduous chore if you do not.
3. Practice your cuts. Our chop block has a nice characteristic gash in the back because I decided it wasn't hard to make a bevel cut with a jigsaw on a piece of hardwood...hence the reason I now have a router, which corrected most of my mistake. (Upon purchasing my new favorite tool, my ever-wonderful wife looked at me and said, "Happy Father's Day, Birthday, and Merry Christmas!") It actually wasn't too expensive, AND I got it on sale! :)

That's basically it. Enjoy the pictures!


*Again, a big thanks to my sweet darlin' for all of his hard work on this gorgeous counter top and for taking the time to share his story here with all seven of you.  Phase 2 of our kitchen remodel will start with painting the walls (whenever I can bring myself to do more painting...*