So I loaded Little Man up at his bedtime and went to see if there was a piece of furniture and if there was is it for sale?? Turns out it there was a piece of furniture, and it was for sale, and after paying $75 for it (really, only $75!!) it was mine.
As this is a rather picture-heavy post, I decided to scale them back a little in size. If you can't see the detail, I think a trip to the optometrist may be in order. Perhaps we can go together.
Oh, dear. In which decade was this painted?


The inside was absolutely filthy, and cleaning it took forever.

The Little Man approves, which is good because he will see it frequently in it's soon-to-be new home.

I couldn't wait to see what I could do with this wooden top.

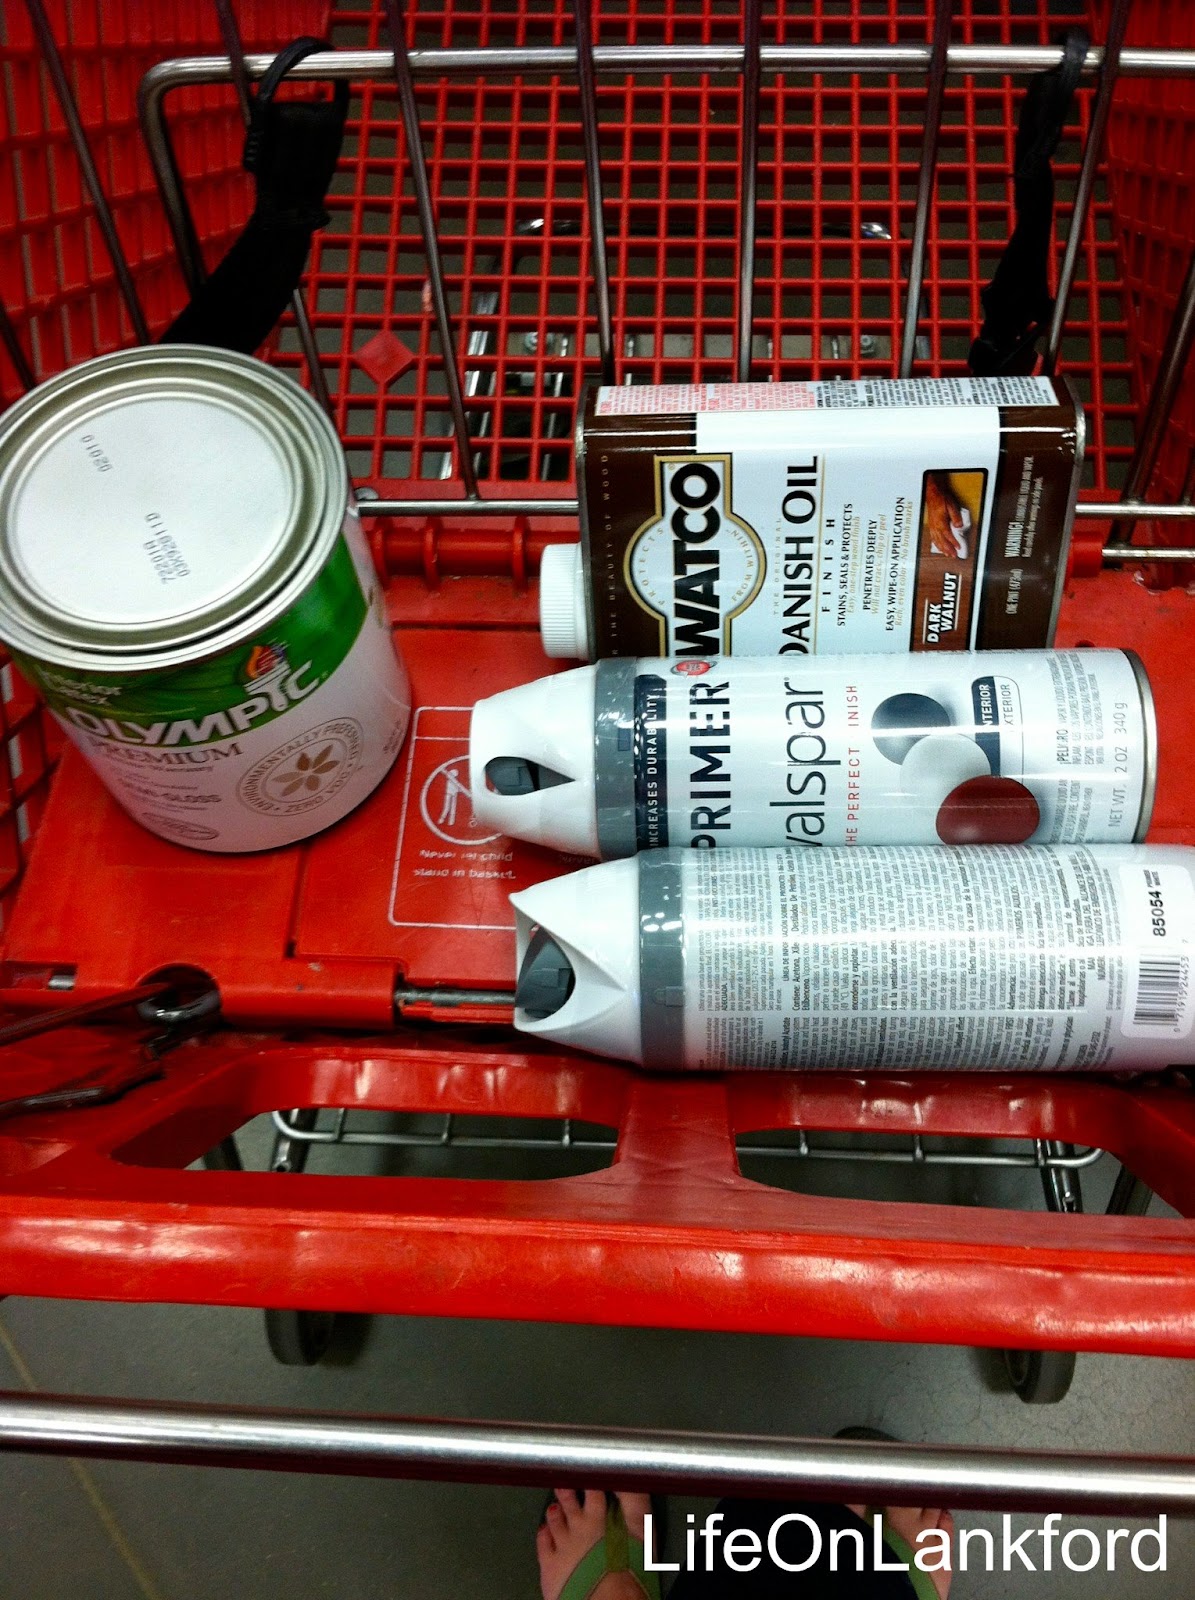
Supplies. When I paint a piece of furniture, I always use spray primer (Valspar is my fav). There are so many corners in there, and quite frankly my arms are short, and it can be difficult to reach back in there. And, if you do a good job priming, you can avoid the need to do all of that cutting in when you paint. At least, that's what I tell myself.
I started by sanding the whole piece, because not only was it filthy, but it was sponge painted and I did not want that floral pattern to be a visible outline through my new coat of paint. I have no pictures of this due to the fact that I was sanding. With a power tool. No room in hands for camera.


We're looking at the start of fresh paint!

I got one quart of paint for the cabinet body outside and inside. You know when you are looking at paint samples and there are 18 different shades of white, and you ask yourself, "Who buys white paint and has it mixed as white paint"? Well, I became one of those people who buys white paint and has it mixed as white paint. I picked a "soft" shade of white in the hope that it would tone down the "crisp new" factor, since it is indeed an old hutch.

Thank goodness no one had ever painted the top! I used a little Dark Walnut oil on it, and it is gorgeous! I really think it makes the piece.


I used Valspar's clear topcoat protector on the shelves, door fronts, and lower exterior sides because I plan to use this in the den for our "entertainment" center. That room gets so much wear and tear. You really have to be careful with this stuff, though. Don't spray too much or too close in order to make sure you don't get yellow spots. It's really hard to tell, though, where you're spraying because, duh, it's clear, so I had a couple of places to paint over when I was done.
I got a small Valspar sample colored gray (actually in the same shade as the kitchen walls and Little Man's bedroom). I only used half of it, so if a chip ever appears in any of those painted rooms/doors, I can do a touch-up (and the sample jar is so much smaller than a gallon bucket).

This is actually the second set of handles I purchased for this piece. I loved the first set, just not on these doors, so I returned them and got these instead. Since they are much longer than the original (broken) ones, I had to pull forth my inner carpenter and sing a song. Ha. Yeah, right. What I really meant was do some work. I was quite thankful while doing this that my father gave me a basic understanding of power tools. I puttied one hole on each door and then allowed it to dry. After sanding, I measured the handles using the ol' eyeball it method and drilled new holes. Not done yet. I then had to get out the largest drill bit in my set so I could enlarge the hole on the inside of the door because the bolts weren't long enough to go all the way through. I pretty much rocked it. Without measuring or leveling, I got all of my new handlebar holes in the right places.

Now, if you have read anything over here ever, you know that naturally a change-up in one room simply must lead to a change-up in the rest of the house. Well, ok, that's a bit of an exaggeration here in this one case, but I did change up the living room again. I moved the shelves from the previous entertainment set up to the wall under this painting. I think it helps make the room feel more modern rather than looking like an antique store or Cracker Barrel.

Oh, and there's just something so fun about that colorful little bookcase there on the end, right?

Yeah. I thought so, too.
However, there's nothing fun about the mess that bringing in a new (LARGE) piece of furniture creates.
First things first. How do you keep an active, curious two-year-old out of the way while wrangling large objects into the house? Tell him to sit on the green sofa and hand him an iPhone.

Fortunately, it didn't take too long to squeeze this through the side door. I actually had the gall to ask Mr. Chadwick if he thought we should start our own moving business afterward. Unimpressed basically covers what he thought of that idea.

Clearly, everything had to come off of the wall first.

Oh, and then he had to get out the jigsaw and cut holes for electronics. Yes, I asked my husband to cut holes in an antique hutch.

Cleaned up and moved into place! Sadly, it is not level. And it is driving me crazy. However, I think the general consensus here is to wait until we just can't stand it anymore to attempt to correct the lean.
And here are the obligatory before and afters:
Before:

After:

See how badly it's leaning? It almost makes me sick to my stomach. Although we decided to wait on correcting the tilt, I did attempt some staging up top by the TV so the unit wouldn't look like a giant rectangular snowman.

The Little Man activity began early this morning. He blew through quite quickly, leaving a heap a mess in his wake.

This is GREAT! I love what you did, and it looks like the perfect spot! That wood is gorgeous, but I guess the original owner no longer saw it for it's beauty.
ReplyDeleteHey, that hutch turned out great! YAY for good furniture finds!
ReplyDelete